
DJI MAVIC 2 PRO - BEST CAMERA SETTINGS & REVIEW
The following review is based on a video review I did for my Youtube channel. You can see the full video featuring all the footage I shot with the Mavic 2 Pro at the bottom of the article.
I’ve been using the Mavic 2 Pro for a couple of months now and it’s a big improvement over the original Mavic Pro, so here’s a brief review and a look at the settings I’ve found which can really get the most out of the sensor.
Now I’m not going to go into lots of detail and all the specs and all the features, it would take forever and there are plenty of reviews which do a far better job of looking in detail into that. Here are the headline features however:
1” 20MP CMOS sensor
4K 30fps / 2.7K 60fps / Full HD 120fps
Dlog-M with 10 bit colour
100mbs
H.265
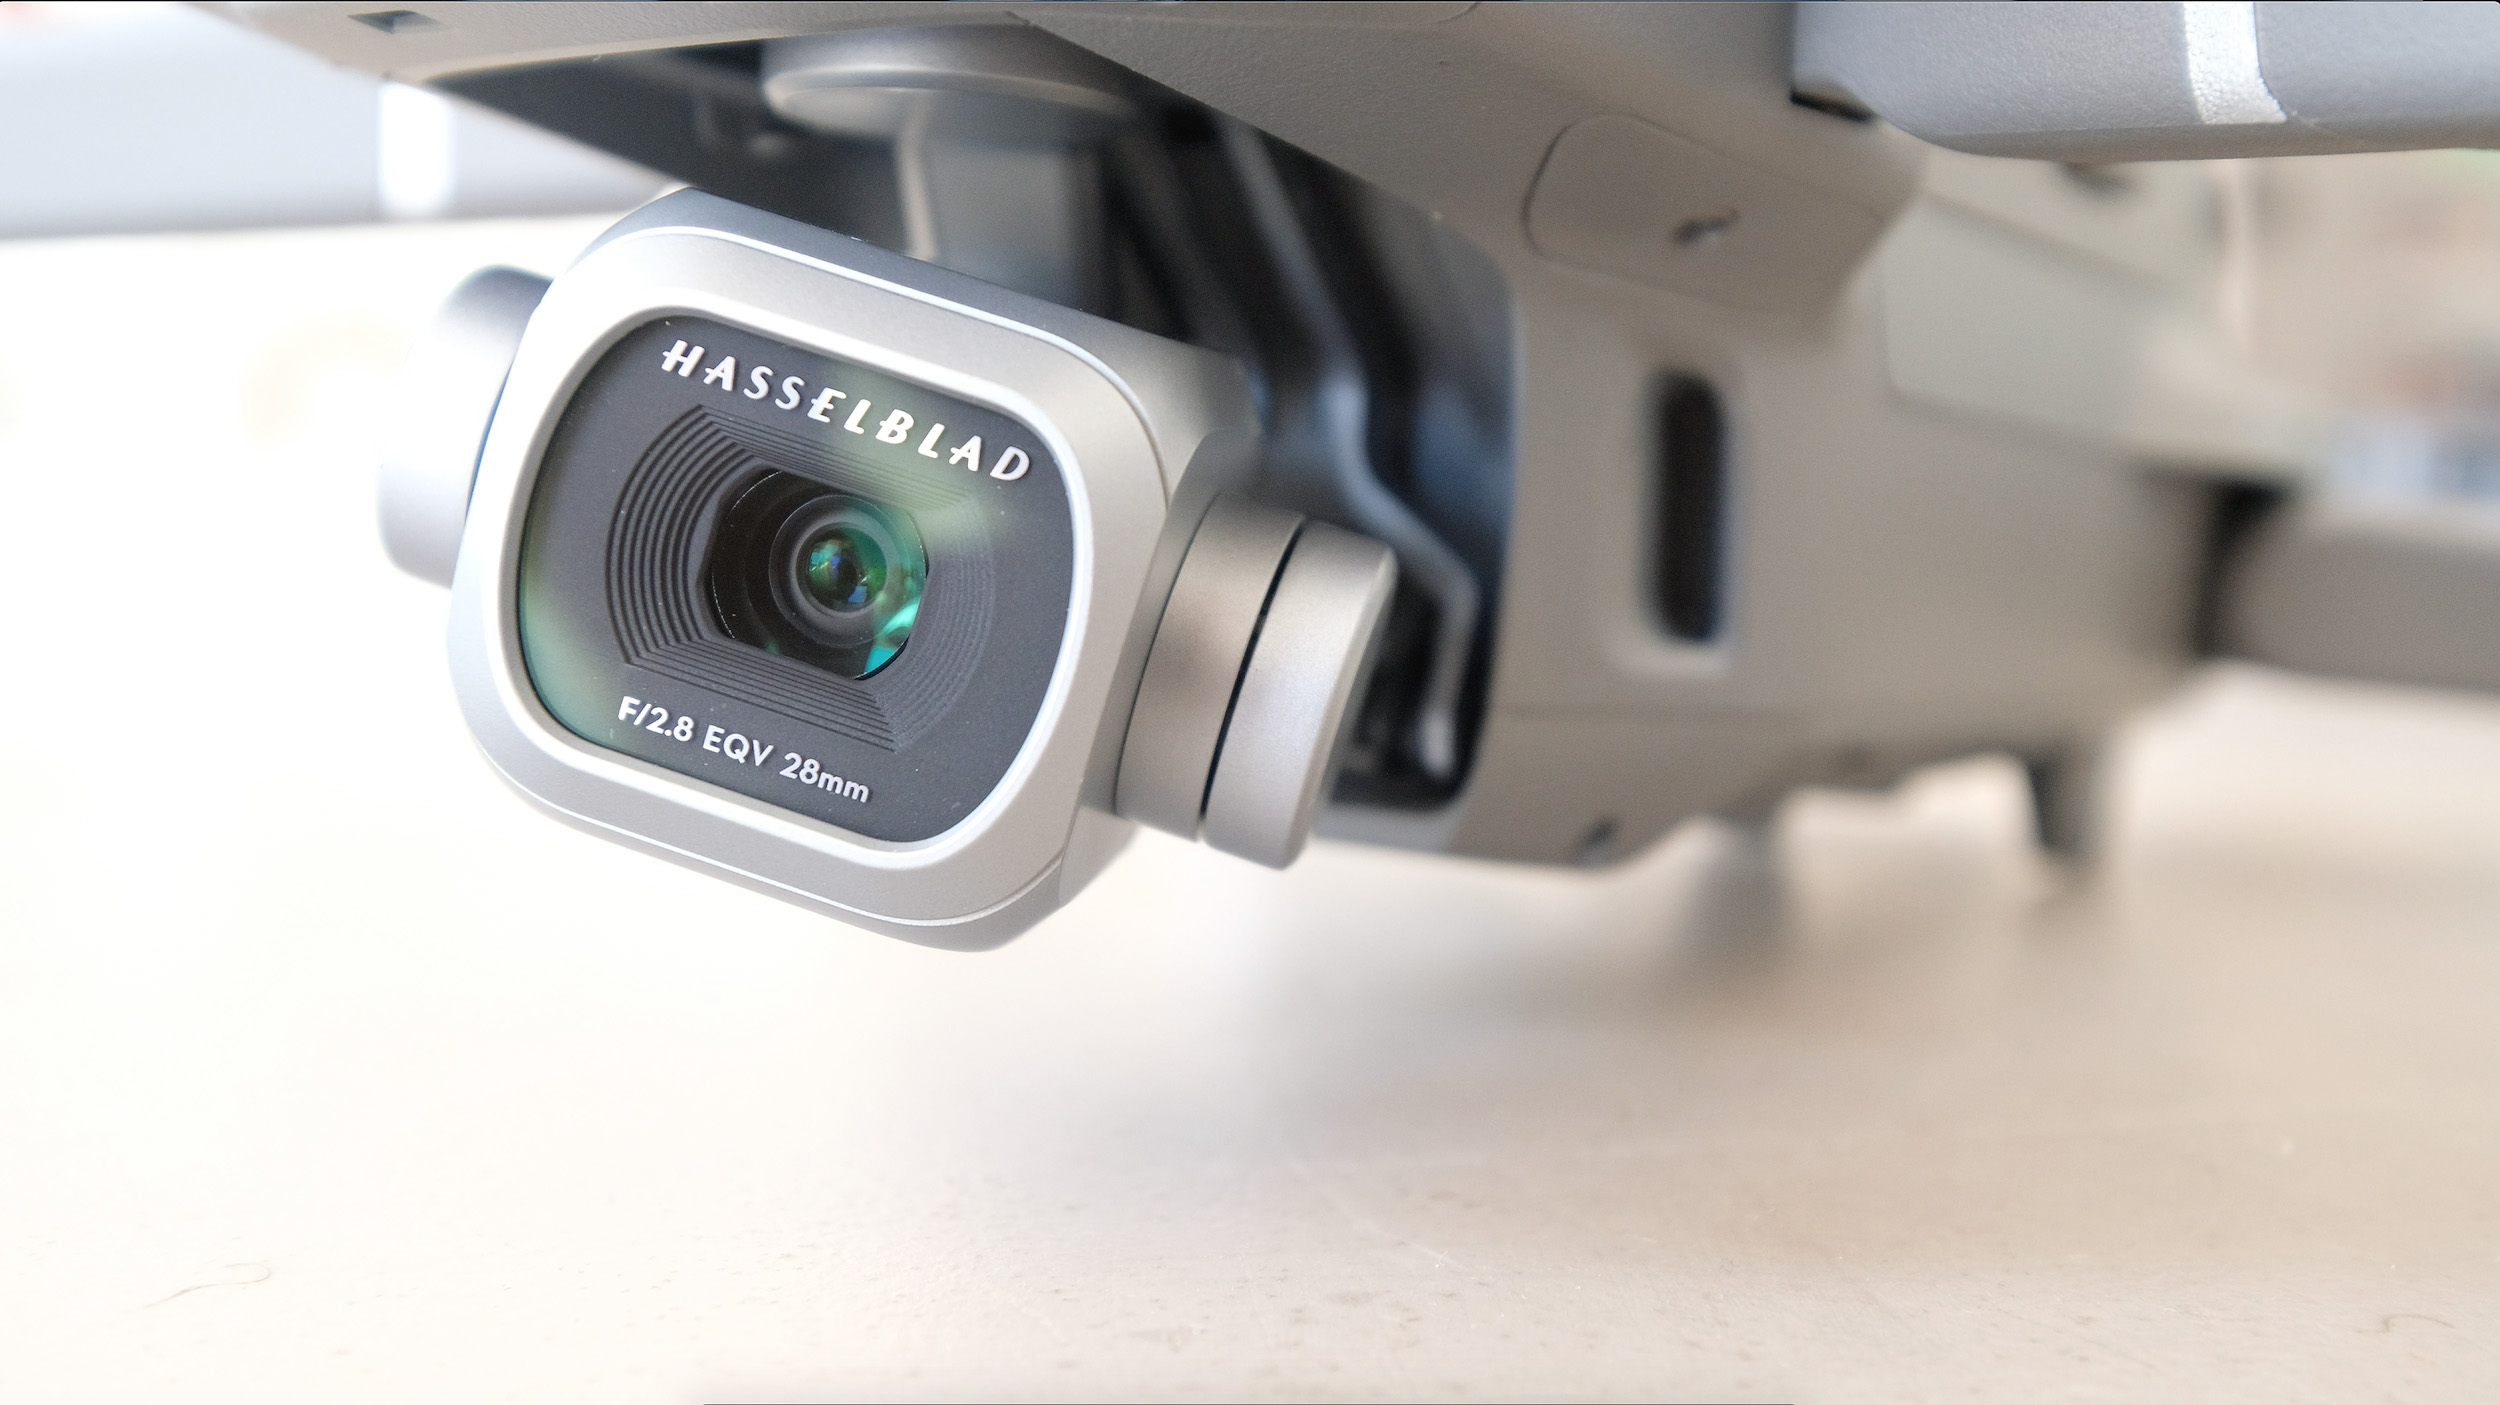
Hasselblad camera with adjustable aperture
31 minutes flight time
What interests me is how these improvements affect it’s ability for the kind of things that I use it for. I’m a landscape photographer and I travel a lot with my trips revolving first and foremost around photography, and because of that portability has always been important as the drone has to travel alongside my full camera kit and be small enough to take with me on long hikes. Primarily the drone is a tool to shooting B roll for videos, but more and more to give me an alternative view for photographing scenes.
The Mavic Pro, the first one, was my first drone and I was really impressed with it. It’s a fantastic portable drone and I took it all over, it went to Iceland, to Tuscany, to Norway, to the Dolomites, and, for the most part, it never let me down. I found it to be stable and reliable. Pretty capable in the high winds of the Iclandic Higlands, the freezing cold of northern Norway in winter, and even light rain in Tuscany. The software is reliable, I almost never had any problems with connections, and generally speaking the image quality was great…with some caveats. The small sensor size meant that it dealt with low light pretty badly and it didn’t really like thick shadows at all. The low bit rate, the speed which the data from the sensor is processed and transferred, meant that I’d get some nasty moire in shadow areas and low light.
So when the Mavic 2 Pro was announced I was really interested and immediately went for the Pro because I wanted the bigger sensor for the improved image quality in both video and photos.
REVIEW
Upon receiving it the first thing I noticed was that It’s a slightly bigger drone, not significantly, but it is a little longer and deeper although this hasn’t really made any difference to my ability to carry it along with the rest of my photography kit. It’s also noticably heavier, the difference is a little under 200g, which is about the weight of my iPhone Plus if you want a reference. Most of the weight is for the bigger batteries which is where the Mavic 2 gets it’s longer flight time from.
The drone also feels a lot more finished than the previous iteration. While the original Mavic Pro was a fantastic product, there were certain parts of it that felt a little under-designed which made me think it had been rushed to market in order to compete with the Go Pro Karma. I’m particularly talking about the gimbal mechanism, which to be honest felt like it was held in place by elastic bands and paper clips. Don’t get me wrong, it worked just fine, but it did feel a little frail. The gimbal housing on the Mavic 2 is totally different, really well designed and much more sturdy, and that’s extended to the gimbal clamp which is one piece now, and not the fiddly two pieces of the original. This improved design features throughout the drone, the lines are a little smoother and more rounded on the body so it feels more aerodynamic and the whole thing feels like a much more polished and refined piece of equipment.


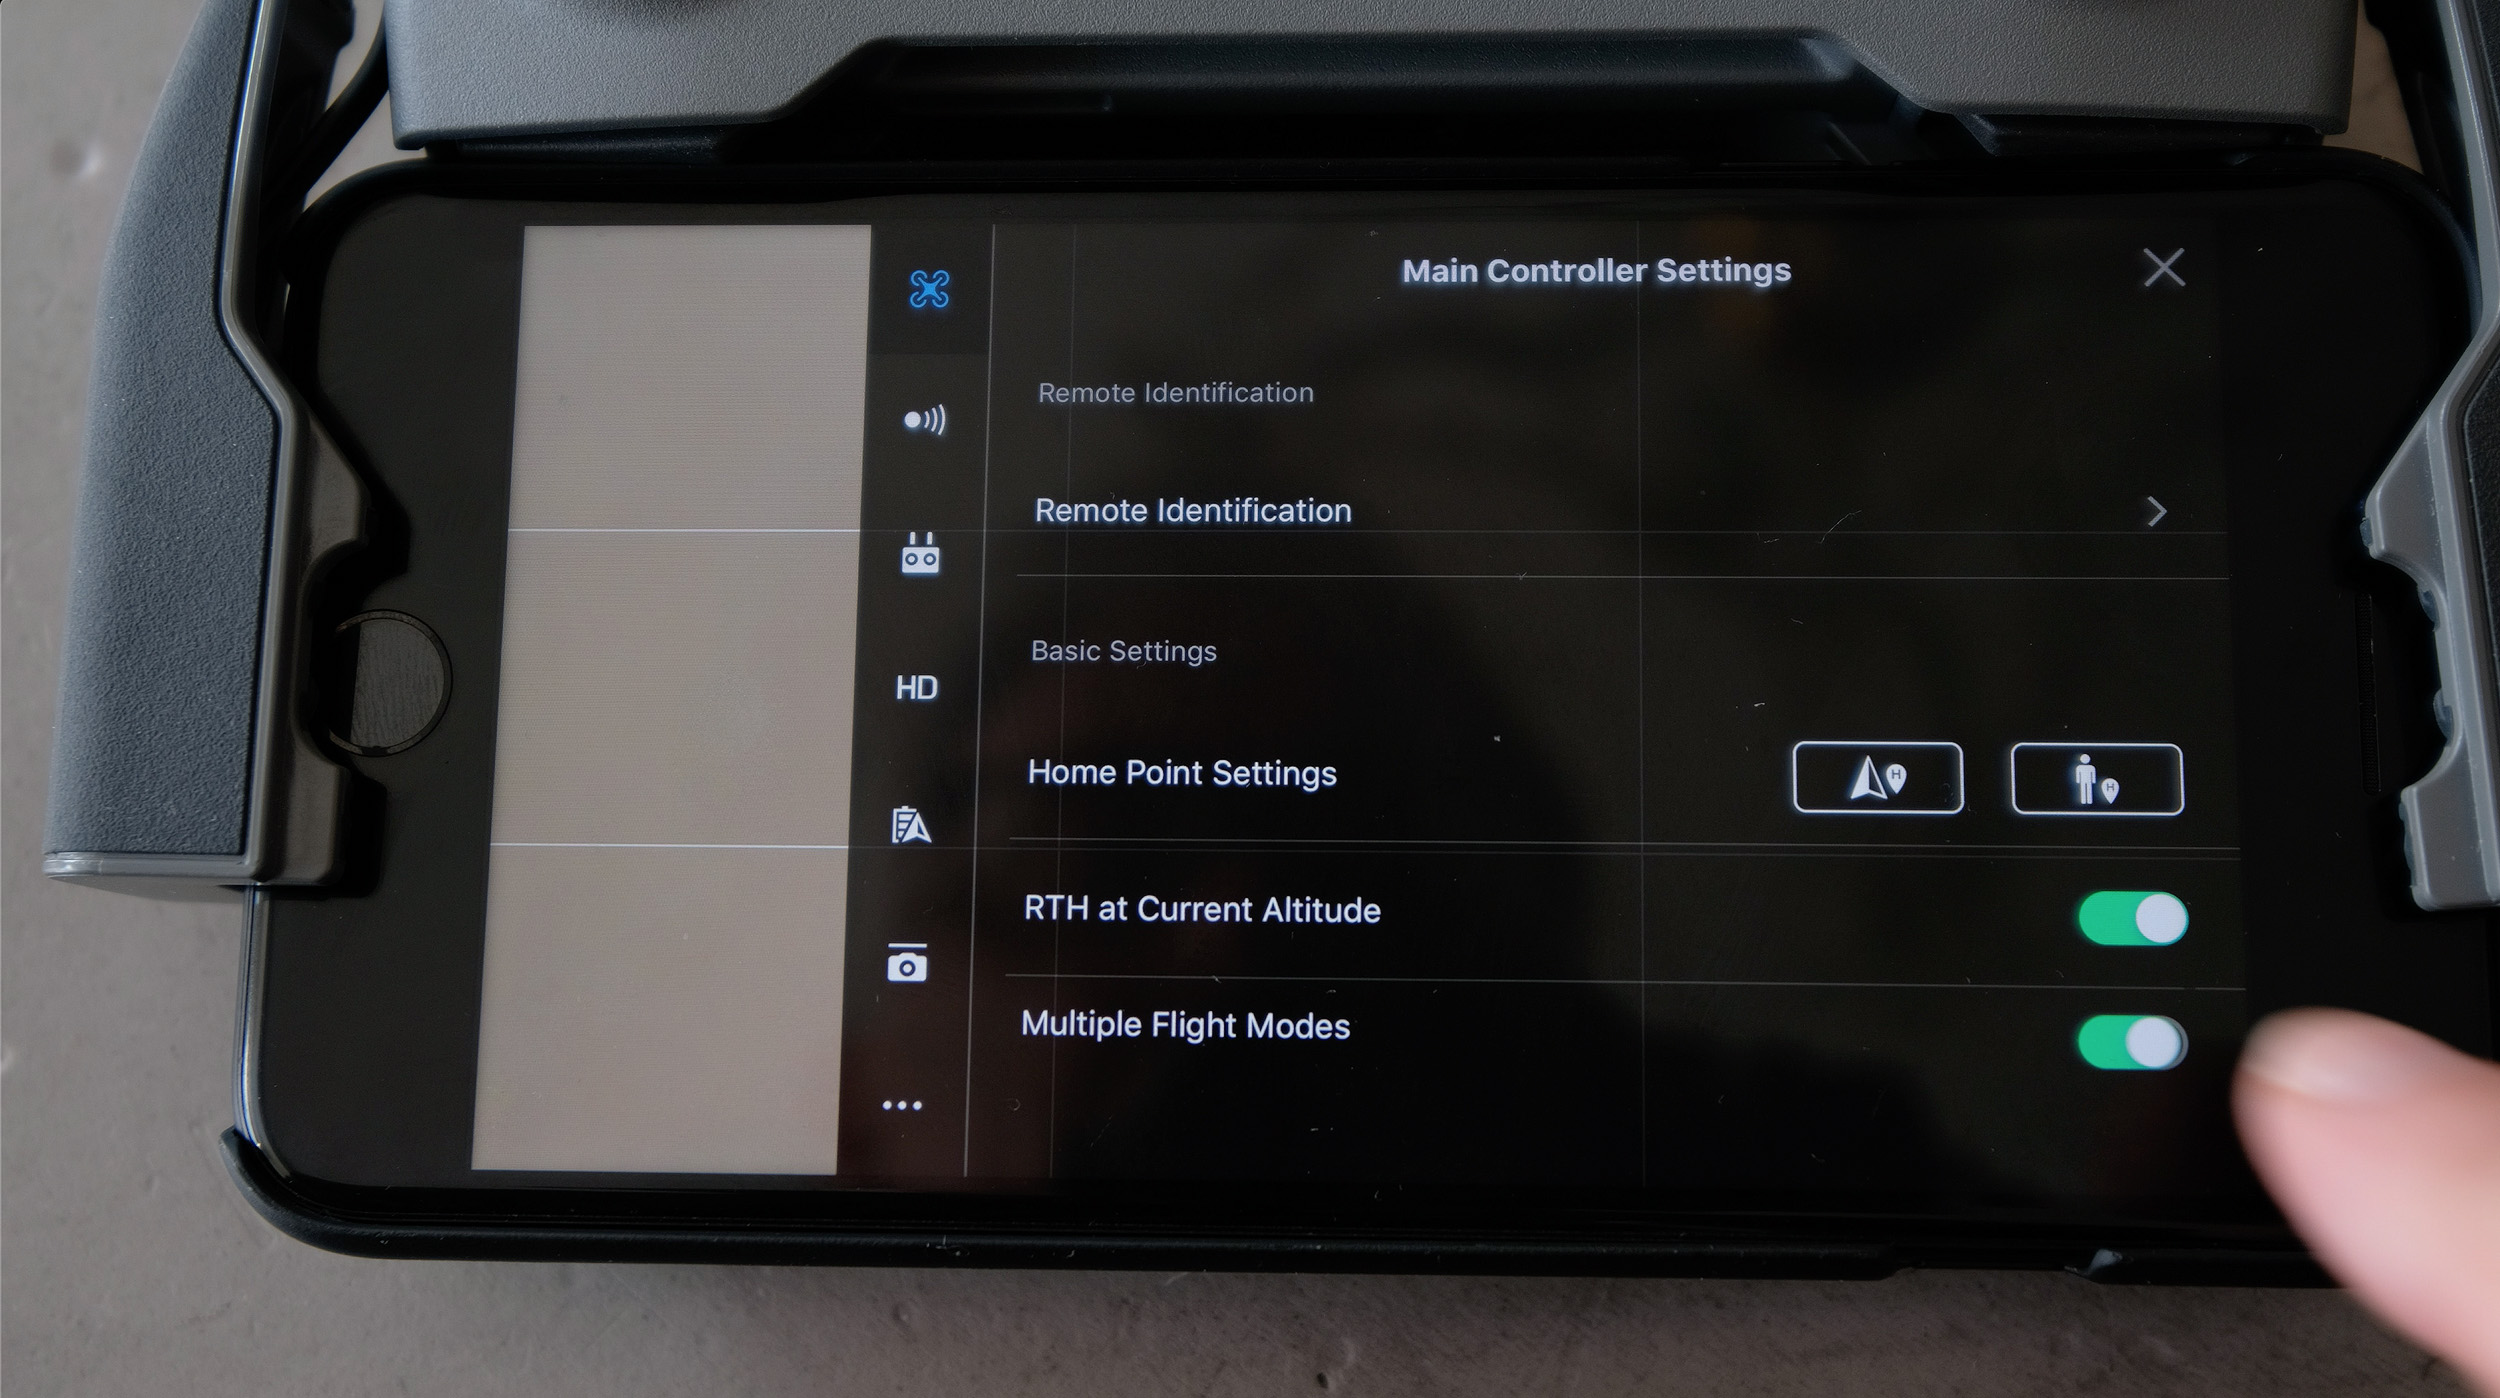
The same thing can be said about the controller which has the removable knobs of the Mavic Air. On the one hand these are great as they make it easier to pack but they are very easy to drop and lose, particularly if you’re working in a cold place where you need to wear gloves. There are other small touches that improve the whole feeling, for example the notch cut out of the arm that holds the phone now means you can access the home button of the phone and the addition of the Tripod Mode to a slider on the side where you can switch between Sport, Normal and Tripod, which is really nice. I used Tripod mode quite a lot and had to dive in to the intelligent shooting modes to make the switch, but it makes much more sense on the side of the controller. Note, you need to enable this in the settings, it’s in the Main Controller settings and then you click “Enable Multiple Flight Modes”


There are also a lot of really useful features that have been added to the Mavic which really help when using it. The first is the addition of more obstacle avoidance sensors, particularly at the rear. I tend to do a lot of flying backwards and on the very first flight when I was flying backwards across this lake in the Dolomites with the drone about 500m away from me the rear sensor stopped me from flying backwards into a group trees.
The drone is super responsive to fly and very stable. I flew it in some high winds amongst the mountains and the footage was always rock steady which gives you a huge amount of confidence when flying. I haven’t had any connection issues in the time I’ve used it, and the transmission, which is full 1080 HD is absolutely amazing with no lag or frame drops at all.
The introduction of adjustable aperture means you can adjust exposure without altering shutter speed, which is really nice…you’ll still need ND filters when flying it in bright light, but the adjustable aperture is great when we get to the margins of the day when light is a little lower.
Finally, hyperlapse is something that really intrigued me when DJI announced the drone. I enjoy shooting time-lapses and the hyper lapse function is basically like a time-lapse rail in the sky. I haven’t really had chance to really make the most of the feature yet, but early next year I’ll be shooting in the snow-y mountains and I’m really excited at the potential. It’s really easy to set up and the processor takes care of all the heavy lifting to turn it into a movie which you can view straight away on your phone. These hyper lapse files are only 1080 though, so you either need to upscale them to match the rest of your 4K footage, or the best thing to do is to set the camera to save the original image in RAW, which means you then have more latitude to process them in Lightroom like you would a time-lapse shot shot with your camera. Also, as the 20mp image files actually have more resolution than 4K video, it allows you to zoom in to the image a little without losing any 4K resolution
The image quality both of the photos and the video is a considerable improvement from the original Mavic. The sensor has lovely detail and handles shadows and low light a lot better. The faster bit-rate means that the moire type noise is no longer a problem and overall I’ve been really really impressed by what the sensor produces. You can see plenty of examples in the video review that accompanies this article.
For still images the increased sensor size really does bring about a big jump in image quality. The images is a lot cleaner with less noise, again, particularly in the shadows, and the 20mp sensor delivers a lot of detail. For example on the left below is a panorama I shot with my Fuji X-T2 alongside a pano I shot with the Mavic 2 Pro (on the right) and you really can’t see much difference. It’s certainly good enough to print to a decent size.


SETTINGS
To get the very best out of the camera there are a few settings I’d highly recommend.
VIDEO SIZE = 4K FULL FOV or 4KHQ
The sensor on the Mavic 2 Pro is 20 megapixels, and even for 4K footage you don’t need that many pixels, so you have a choice between 4K Full FoV, which samples the whole sensor and down samples the image, or alternatively there’s 4K HQ, which samples sensor one-to-one. This means it crops the image from the sensor effectively giving you digital zoom with no loss of resolution, although it’s not the same as optical zoom because you get no compression. I’ve not been able to see any difference in the image quality between either of these so which you use depends really on which field of view you prefer. I tend to use FFoV because I like the wider angle view, but the HQ is a nice alternative to have when you want to get a closer perspective without losing any resolution.
There is noticable barrel distortion when you’re shooting at FFoV but that can be sorted out in post by inserting around -10 in the Curvature in the Lens Distortion effect (in Premiere Pro)


VIDEO CODING = H.265
The Mavic 2 Pro has a choice of H.264 or H.265. You should choose H.265 because that gives you 10 bit colour, while H.264 only gives you 8 bit. 10 bit is important because it gives you a four times wider colour range than 8 bit, which reduces things like banding and means the colour tone transition is much smoother in things like skies. It gives you a wider dynamic range and will keep more detail in highlights.
Besides this, H.265 also has more efficient in it’s data transfer and gives you better quality image overall
COLOR = DLog M
DLOG is kind of like RAW for video so the footage that you’ll get will look flatter straight out of the camera, but there’s a lot more image data being recorded which means you’ve got a lot more latitude when editing. If you don’t like seeing the flat D Log on the preview that you get on your phone you can actually get it in high contrast, but it’s just the live preview that will change, all the footage you record will still be in Log. There’s also a new Hybrid Log Gamma mode, which is nice but I find it has more noise in the shadows…I’m not sure if it’s artificially pumping up the shadows but the image isn’t as clean.

STYLE = CUSTOM
Sharpening +1
Contrast 0
Saturation 0
Shooting in 10 bit H265 Log will give you the most latitude to play around with the saturation, contrast and sharpening in post, and the settings you use in the camera should be the ones that give you the most latitude for this. The old Mavic applied noise reduction at 0 sharpening and the Mavic 2 Pro is the same, so you should go with +1. I keep the contrast at 0 as I feel it gives me the widest dynamic range to play with without introduction noise, and the saturation at 0 to keep the colours as neutral as possible.
EXPOSURE SETTINGS = MANUAL
WHITE BALANCE = SET MANUALLY
The exposure on the camera should always be in manual because as you move the drone around you don’t want the exposure to be changing to compensate for changing light, and for the same reason you should also not have white balance set to Auto as you can get colour shifts as the camera moves from point at a warmer part of the scene to a cooler part.
GIMBAL CONTROL SETTINGS
Gimbal pitch speed around 10
Gimbal smoothness around 20
The default gimbal pitch speed and smoothness are a little fast and jerky when your moving the camera up and down, so going into the gimbal control settings and adjusting them allows you to get smoother shots which move more slowly and don’t have that noticeable camera jerk when the gimbal starts or stops moving up and down.
CONCLUSION
So overall the Mavic 2 Pro is a huge leap forward from the original Mavic, which was already an extremely impressive drone. The quality of footage is wonderful and it really is fantastic to have the ability to shoot such high quality aerial footage and photos in such a small drone that’s so easy to carry alongside my regular photography gear.
Is it as good as the Phantom 4 Pro, well some of the reviews I’ve seen online state the IQ isn’t quite as good but to be honest, that’s not really the point of this drone. It’s easy to forget what this drone is and what it isn’t. It’s not a professional drone for commercial shooting and isn’t intended as such, it’s a portable consumer drone and should be judged within that context..and for that it’s excellent! The image quality is really close to the Phantom 4 Pro but it’s so much more portable, which makes it much easier to take with you when you’re out hiking or when you have, like me, lots of other photography gear like cameras, lenses and tripods to take with you. It has a significantly better camera than the original Mavic with far superior noise performance and in the two months I’ve been using it it’s really surpassed my expectations. It’s very likely the only drone you’ll ever need.
If you’ve enjoyed this review and are thinking of getting a DJI Mavic Pro 2, please consider helping support my website by purchasing it from DJI via the affiliate link below.
BUY DJI MAVIC PRO 2 FROM DJI WEBSITE
